THE IMPORTANCE OF THE PRINT TEMPLATE
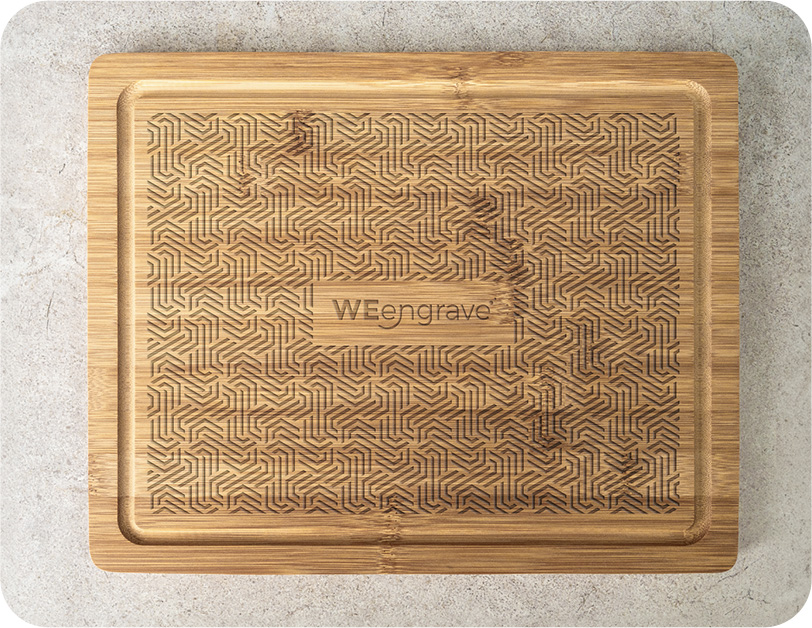
When designing for laser-engraved products, using the provided template is crucial. The template shows the entire “engraving” area and helps determine the size and placement of your artwork.
REQUIREMENTS FOR LASER ENGRAVING
When preparing designs for laser engraving, it is essential to use vector graphics instead of raster images. Vector graphics ensure precision and scalability without loss of quality, making them ideal for the laser etching process.
- Use Vector Graphics :
- All parts of the design must be vector-based. Avoid using raster images like JPEGs or PNGs.
- File Formats :
- Save your designs in SVG (Scalable Vector Graphics) or.ai (Adobe Illustrator - recommended) file formats. These formats retain the vector quality
- Fonts and Stroke :
- Ensure that all fonts and strokes are outlined. This means converting text to vector shapes and expanding any strokes to prevent any unexpected changes or errors during the engraving process.
- Unite Overlapping Parts :
- Any overlapping parts of your design should be united into a single shape. This helps in avoiding multiple passes of the laser over the same area, which can lead to inconsistent engraving.
- Solid Black Design :
- Design your artwork in solid black. The laser interprets black areas as the regions to etch. Avoid using gradients, colors, or shades of gray, as these will not translate well in the engraving process.
Additional Recommendations
- Minimum Text Size :
- The minimum recommended size for black text is 0.2 inches. For small text, avoid using thin fonts to ensure legibility and clarity.
- Avoid Thin Lines :
- For best results, avoid lines thinner than 0.02 inches. Thin lines may not engrave properly, leading to inconsistent or incomplete lines in the final product.
By adhering to these requirements, you can ensure that your designs are optimized for the laser engraving process, resulting in high-quality, precise, and professional-looking products.
Adobe Illustrator: Step-by-Step Instructions
Convert Text to Outlines:
- Select all text elements in your design.
- Go to Type > Create Outlines or press Shift+Ctrl+O (Windows) / Shift+Cmd+O (Mac).
Expand Strokes:
- Select all objects with strokes.
- Go to Object > Expand . Ensure "Stroke" is checked in the dialog box, then click "OK".
Unite Overlapping Parts:
- Select overlapping elements.
- Open the Pathfinder panel ( Window > Pathfinder ).
- Click on Unite (first button under Shape Modes) to merge overlapping shapes into a single shape.
Check and Adjust Colors:
- Ensure all design elements are in solid black (R: 0, G: 0, B: 0).
- Select all elements and set the fill color to black.
Save Your File:
- Go to File > Save As .
- Choose Adobe Illustrator (.ai) as the file format.
- Name file only with the order number
